Pantry
Pantry Organization on a Budget
Get a calm, shoppable pantry for less — the cheap container swaps and budget-friendly tricks that make the biggest difference.
This guide contains affiliate links; I may earn a small commission at no extra cost to you.
Start with the free step: empty and sort
The cheapest thing you can do is also the most effective. Pull everything out, group it (baking, breakfast, snacks, cans, grains), and toss what’s expired. You can’t organize around clutter, and decluttering first means you’ll buy fewer containers — which keeps the whole project cheap.
Decant only what earns it
Matching canisters look great, but you don’t need to decant everything to get the benefit. Put your most-used staples — flour, sugar, pasta, cereal — into a few airtight containers for freshness and a calm look, and leave the rest in their packaging inside bins. You get 80% of the “Pinterest pantry” effect for a fraction of the cost.
Bins do the heavy lifting for cheap
Inexpensive clear bins are the best budget buy in a pantry. Group loose packets, snacks, and cans by category so each shelf becomes a few neat zones instead of dozens of stray items. Dollar-store bins work fine — just measure your shelves first so they actually fit.
Use height instead of buying more shelves
Reclaim the dead air between shelves with cheap risers and a tiered can rack so you can see the back row. A single lazy Susan brings oils and sauces out of the corner. These few inexpensive pieces add a surprising amount of usable space.
Best budget pantry organizers
Skip the full matching set. These are the inexpensive pieces that do most of the work — bins to zone the shelves, a can rack and under-shelf basket to reclaim dead air, and one turntable for the corner.
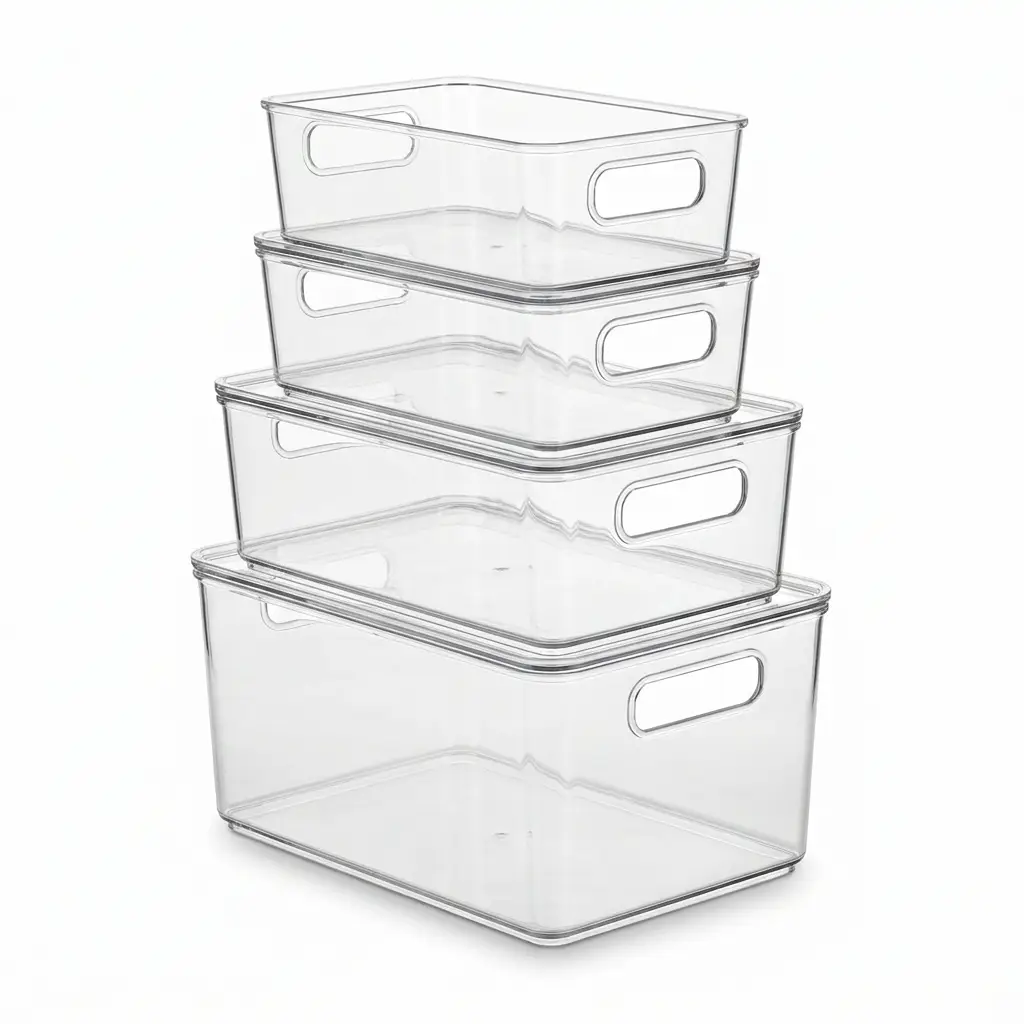
ClearSpace Clear Storage Bins
Best for Corralling packets & cans
Pull-out bins that corral packets, cans, and snacks into zones.
Check price on Amazon →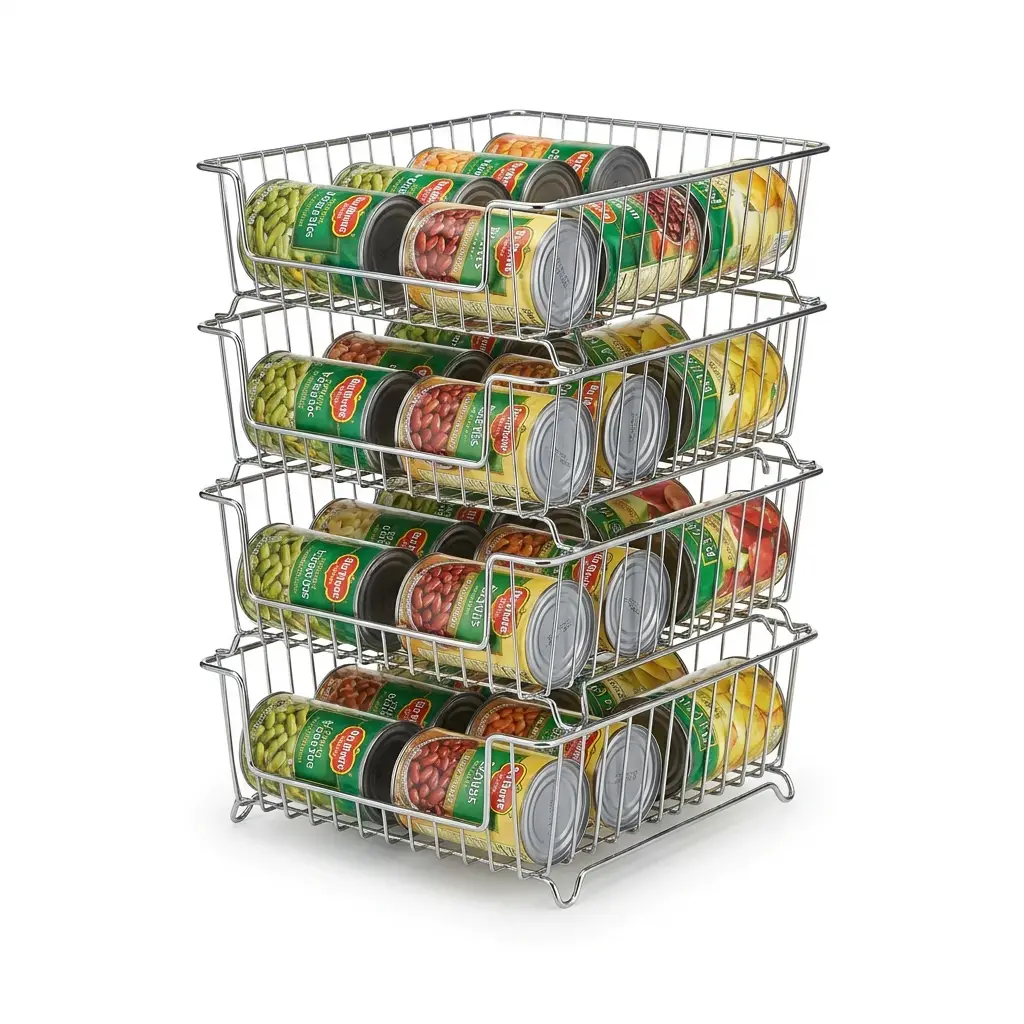
Simple Houseware Stackable Can Rack
Best for Canned goods
Keeps cans visible and rotating so nothing expires.
Check price on Amazon →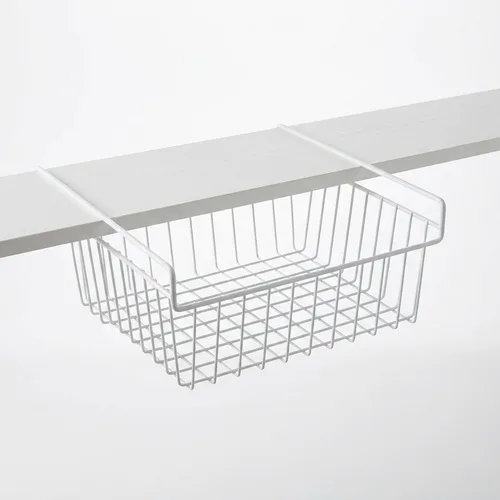
Simple Houseware Under-Shelf Basket (2-Pack)
Best for Dead air under a shelf
Slides onto a shelf to reclaim the dead space underneath.
Check price on Amazon →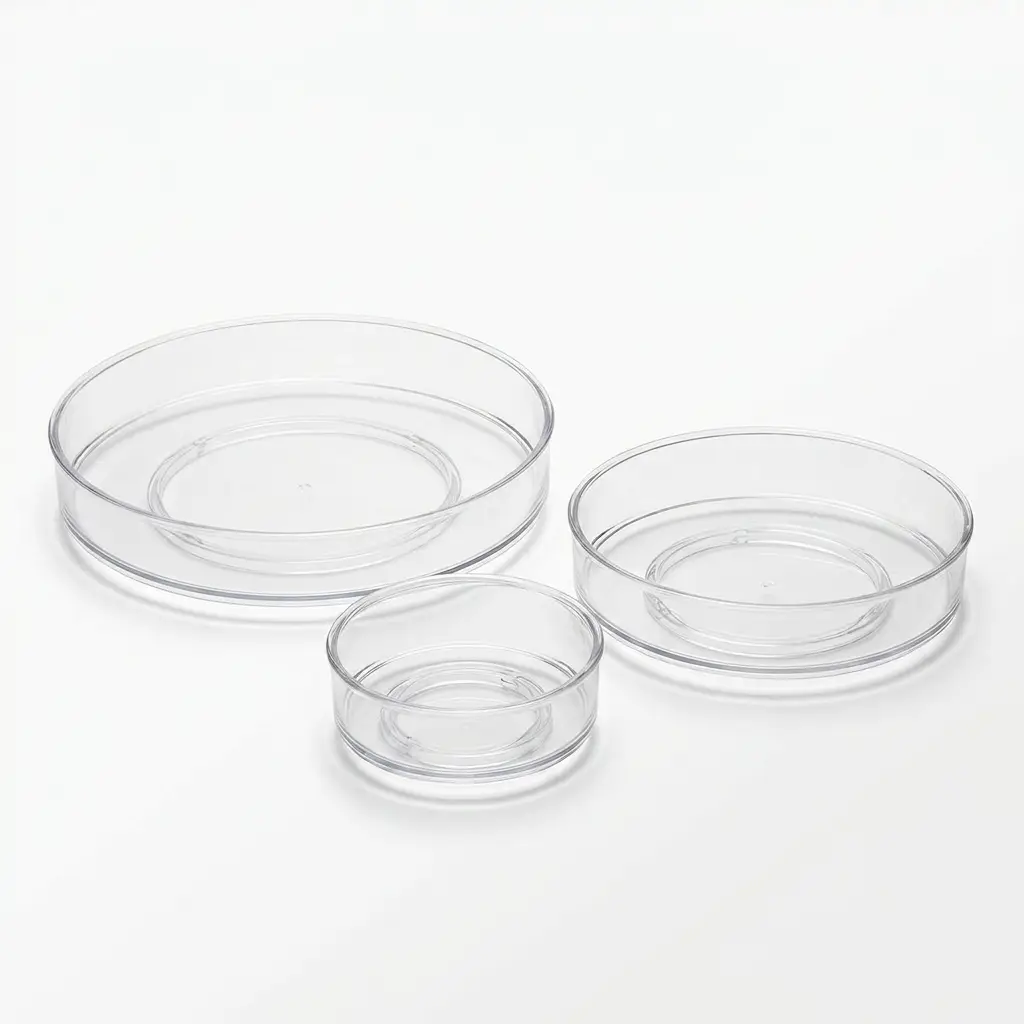
Lazy Susan Turntable (Set of 4)
Best for Outfitting several spots
Spinning trays that bring oils and sauces out of the corner.
Check price on Amazon →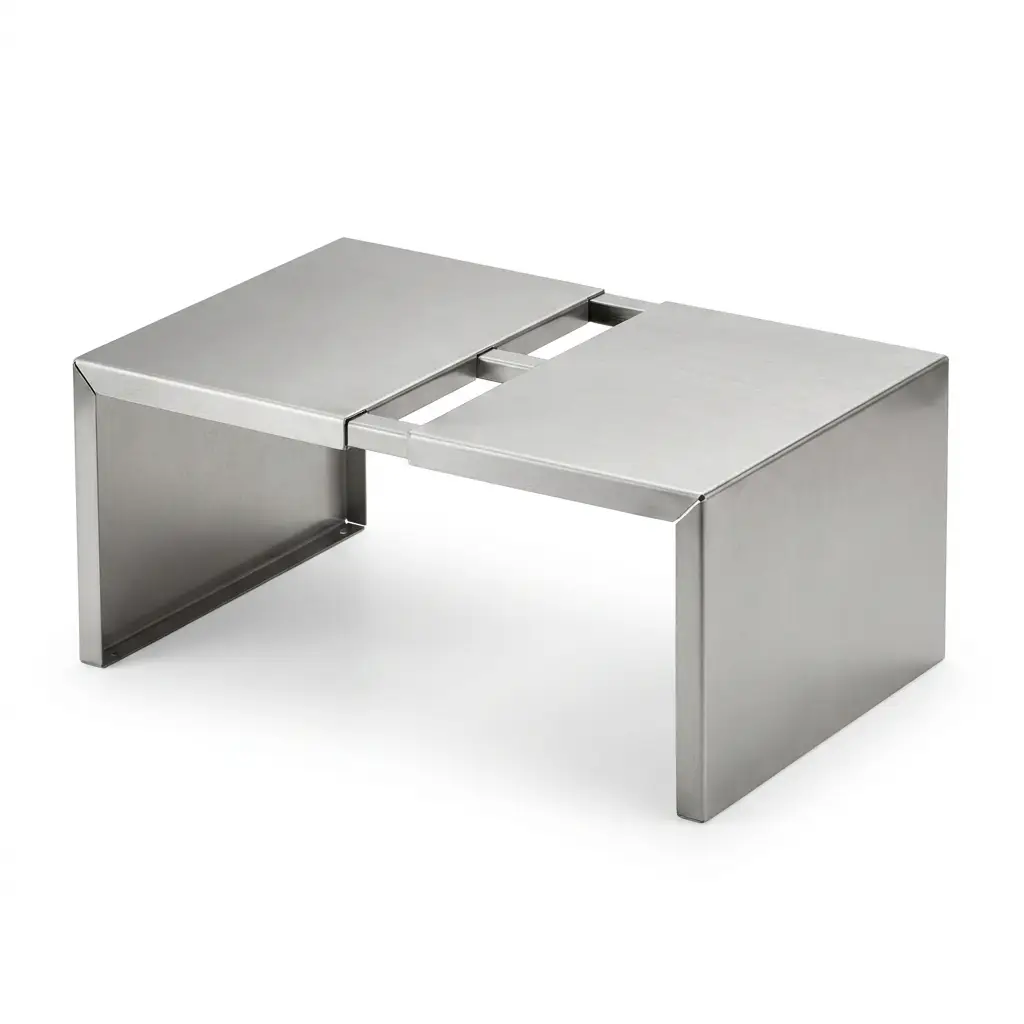
Expandable Cabinet Shelf Riser
Best for Tall, wasted shelf gaps
Adds a second level inside cabinets for cans and spices.
Check price on Amazon →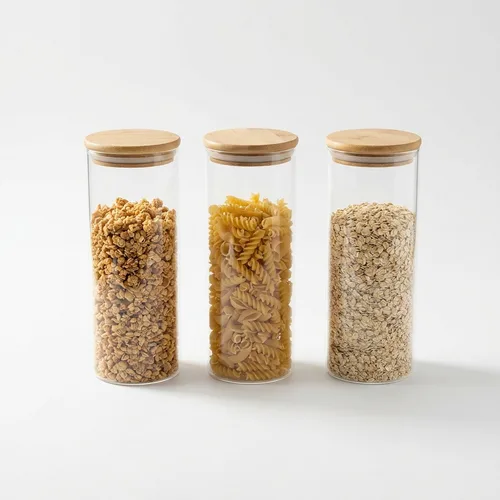
Glass Cereal & Pasta Canisters (3-Pack)
Best for Cereal, pasta and oats
Tall airtight canisters that keep cereal, pasta, and oats fresh.
Check price on Amazon →| Pick | Best for | Material | Why it made the list |
|---|---|---|---|
| ClearSpace Clear Storage Bins | Corralling packets & cans | Clear plastic | Pull-out bins with handles |
| Simple Houseware Stackable Can Rack | Canned goods | Steel | Stackable, self-rotating cans |
| Simple Houseware Under-Shelf Basket (2-Pack) | Dead air under a shelf | Steel wire | Slides onto the shelf, no tools |
| Lazy Susan Turntable (Set of 4) | Outfitting several spots | Plastic | Four small turntables |
| Expandable Cabinet Shelf Riser | Tall, wasted shelf gaps | Metal | Expandable, stackable second level |
| Glass Cereal & Pasta Canisters (3-Pack) | Cereal, pasta and oats | Glass with bamboo lid | Tall, airtight and stackable |
Label with what you already have
You don’t need a fancy label maker — masking tape and a marker, or free printable labels, do the job. Labels are what keep everyone putting things back in the right zone, which is the real secret to a pantry that stays organized.
Maintain with a five-minute reset
A quick weekly tidy — facing labels, tossing empties, wiping a shelf — keeps a budget pantry looking just as good as an expensive one. Consistency beats cost every time.
Ready to shop? The budget shortlist above is where I would start; if you want the full pantry system rather than the cheapest version of it, my small pantry guide has the best pantry organizers for every shelf.
Back to the budget shortlist →
Frequently asked questions
How do I organize a pantry on a budget?
Start with the free step — empty, sort into categories, and declutter, which means you'll buy fewer containers. Decant only your most-used staples into a few airtight containers, use inexpensive clear or dollar-store bins to zone each shelf, reclaim height with cheap risers and a can rack, and label with masking tape or free printables.
Do I need to decant everything in my pantry?
No — decanting everything is where the cost adds up. Put your most-used staples like flour, sugar, pasta, and cereal into a few airtight containers for freshness and a calm look, and leave the rest in their packaging inside bins. You get about 80% of the polished-pantry effect for a fraction of the price.
Are dollar-store bins good for pantry organization?
Yes — inexpensive clear bins are the best budget buy in a pantry, grouping loose packets, snacks, and cans into a few neat zones per shelf. Just measure your shelves first so the bins actually fit.
What's the cheapest way to add pantry space?
Use the height you already have instead of buying more shelves. Cheap risers and a tiered can rack surface the back row, and a single lazy Susan brings oils and sauces out of the corner — a few inexpensive pieces add a surprising amount of usable space.
How do I label a pantry without a label maker?
Masking tape and a marker, or free printable labels, do the job perfectly. Labels are what keep everyone returning things to the right zone, which is the real secret to a pantry that stays organized.